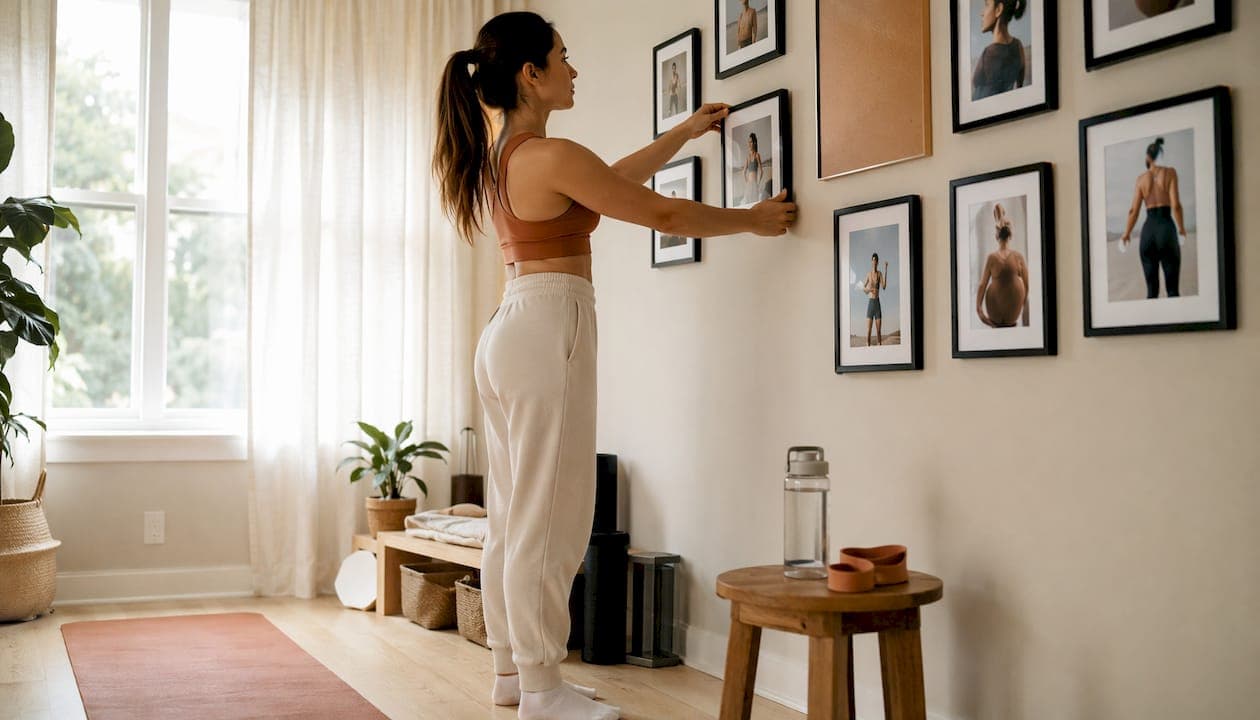
Your home gym progress tracking wall should do one thing well: celebrate wins. Keep it a motivational highlight reel, not a daily data dump. Mount your PR plaques, photo grid, and consistency streaks on the wall. Let a Smart Electronic Weight Scale and synced apps handle the granular logging automatically.
Here is how to start right now:
- Pick a wall zone sized to fit your available space, from small corner setups to larger standard walls
- Choose one of three layout templates: compact, standard, or trophy (details below)
- Set your update cadence: photos weekly, body-composition monthly, full trend reviews quarterly
- Automate daily logging through Apple Health or Google Fit so the wall stays clean
RP3 Rowing's guidance on home workout tracking makes the case plainly: monthly measurements reduce the anxiety that daily weight fluctuations create, and the physical wall works best as a milestone display rather than a running ledger. That principle shapes everything below.
Table of Contents
- What should your progress wall actually do?
- What materials and layouts do you actually need?
- How do you build and install the wall step by step?
- How do you connect your smart scale without cluttering the wall?
- Which metrics matter, and how often should you check them?
- What visual formats and pro tips make the wall actually motivating?
- How do you keep the system running and protect your privacy?
- Which devices should anchor your system?
- Key Takeaways
- The wall is not the tracker. The wall is the trophy case.
- The Uvirello Smart Electronic Weight Scale belongs on your wall plan
- Useful sources and further reading
What should your progress wall actually do?
The wall's job is behavioral, not analytical. It shows you where you have been and makes you want to keep going. Three zones handle that: a PR plaque section for strength milestones, a photo grid for visual proof of body-composition change, and a habit-streak area for workout consistency.
Design principles that hold up over time:
- Minimize manual updates. If updating the wall feels like homework, you will stop doing it. Automate what you can; reserve manual effort for genuine milestones.
- Use moisture-resistant materials in garage or basement gyms. Standard tape and untreated wood fail fast in humid spaces.
- Control visibility. Decide upfront what goes on the public wall versus what stays in a password-protected digital frame.
Health tracking motivates behavior change most reliably when the display reinforces identity, not anxiety. A wall covered in daily weigh-in numbers does the opposite.
Pro Tip: Set a five-minute monthly ritual: print one body-composition snapshot, swap one photo, and update one PR plaque. That is the entire manual workload.
What materials and layouts do you actually need?
Materials list
- Frames: 4×6 or 5×7 black aluminum frames for photo grid
- Corkboard or painted MDF panel as the backing surface
- 3D-printed PLA PR plaques: custom weightlifting tracking boards use PLA for lightweight durability and interchangeable number displays
- Mounting hardware: toggle anchors for drywall, construction adhesive for masonry
- Digital photo frame: Wi-Fi enabled, password-lock capable
- Laminating pouches or a local print lab for weather-resistant photo prints
- USB power strip for digital frame and any lighting
For renters, 3M Command strips rated for the frame weight and removable adhesive picture-hanging strips handle most of the load without wall damage.
Three layout templates
| Template | Wall Space | Photo Slots | PR Plaque Slots | Rough Material Cost |
|---|---|---|---|---|
| Compact | — | 6 | 3 | — |
| Standard | — | 12 | 6 | — |
| Trophy | — | — | 12+ | — |
The trophy layout suits a dedicated garage gym with high ceilings. The compact version fits a bedroom corner or apartment gym nook. Standard layouts cover typical home gym walls.
How do you build and install the wall step by step?
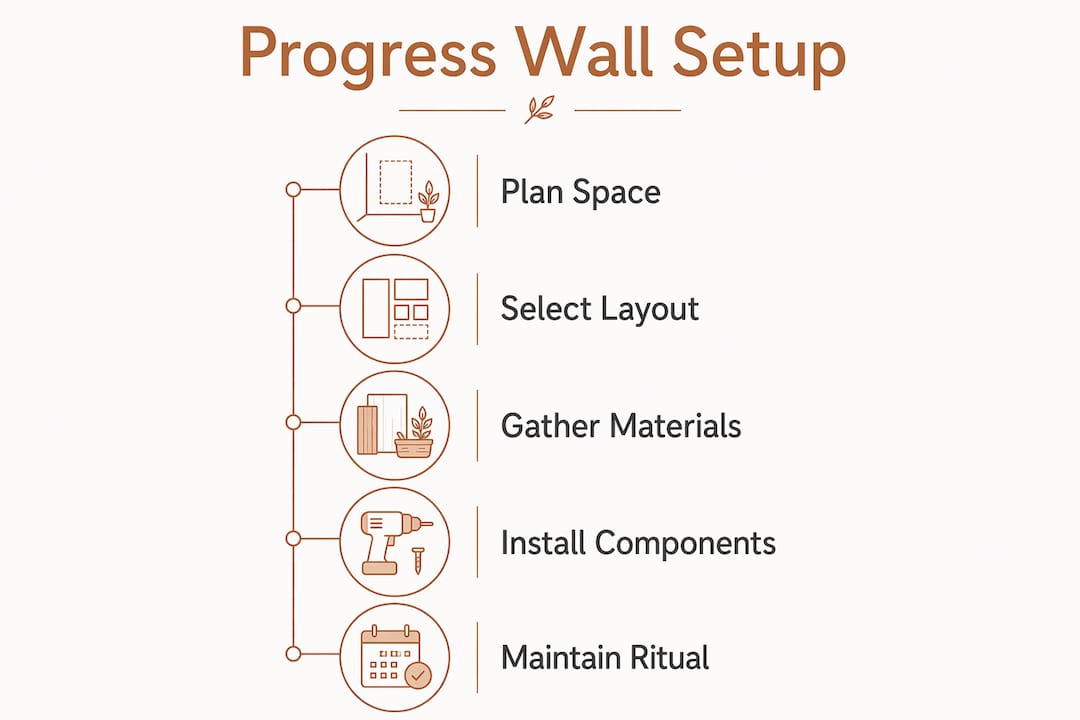
Planning stage
- Measure your wall zone and confirm stud locations with a stud finder.
- Choose your template and sketch the layout on paper or in Canva.
- Order materials: frames, PLA plaques, corkboard panel, mounting hardware, digital frame.
- Download your tracking apps (Apple Health, Google Fit, or Google Sheets template).
Build stage
- Cut or order the corkboard/MDF panel to size; paint or seal it if the space is humid.
- Arrange frames and plaques on the floor first to confirm spacing before drilling.
- Mount the corkboard panel to studs with 2.5" screws, or use heavy-duty toggle anchors.
- Attach frames and PLA plaques with appropriate hardware; use construction adhesive for masonry walls.
Install stage
- Mount the digital photo frame and route the USB power cable along the baseboard or behind the panel.
- Test all placements from your normal workout position — the wall should be readable mid-set.
- Print your first progress photo and insert your first PR plaque number.
- Write your update ritual on a sticky note inside a cabinet: "First of the month: print snapshot, swap photo, update plaque."
Pro Tip: Use a fitness tracking equipment space guide to plan power routing before you drill — running cables after mounting is the most common frustration.
How do you connect your smart scale without cluttering the wall?
Automated tracking consistently outperforms manual logging for long-term adherence, and the integration path here is straightforward.
Two practical automation recipes:
Recipe A — Monthly snapshot card:
- Weigh in on the Smart Electronic Weight Scale each morning; data syncs to Apple Health or Google Fit automatically.
- At month's end, export a CSV or use a Google Sheets exercise tracker to pull the month's body-composition averages.
- Print a single-sheet summary card and pin it to the corkboard for that month's snapshot.
Recipe B — Weekly weight trend on the digital frame:
- Use Zapier or Make to push weekly average weight from Google Fit to a Google Slides thumbnail.
- Load the thumbnail to the digital frame via Wi-Fi; set the frame to password-lock so only you can update it.
- The frame rotates between your progress photos and the weekly trend graphic automatically.
For a more advanced local setup, a Raspberry Pi can pull scale data from Google Fit's API and render a printable summary on a schedule. Pair this with a progressive overload tracker spreadsheet for a complete digital backup.
Pro Tip: Always keep a CSV backup of your body-composition history in Google Drive. Digital frames fail; cloud exports do not.
Which metrics matter, and how often should you check them?
Fewer metrics, tracked consistently, beat a long list tracked sporadically. Four are worth displaying:
- Strength PRs for your core lifts (squat, deadlift, bench, or your primary movements)
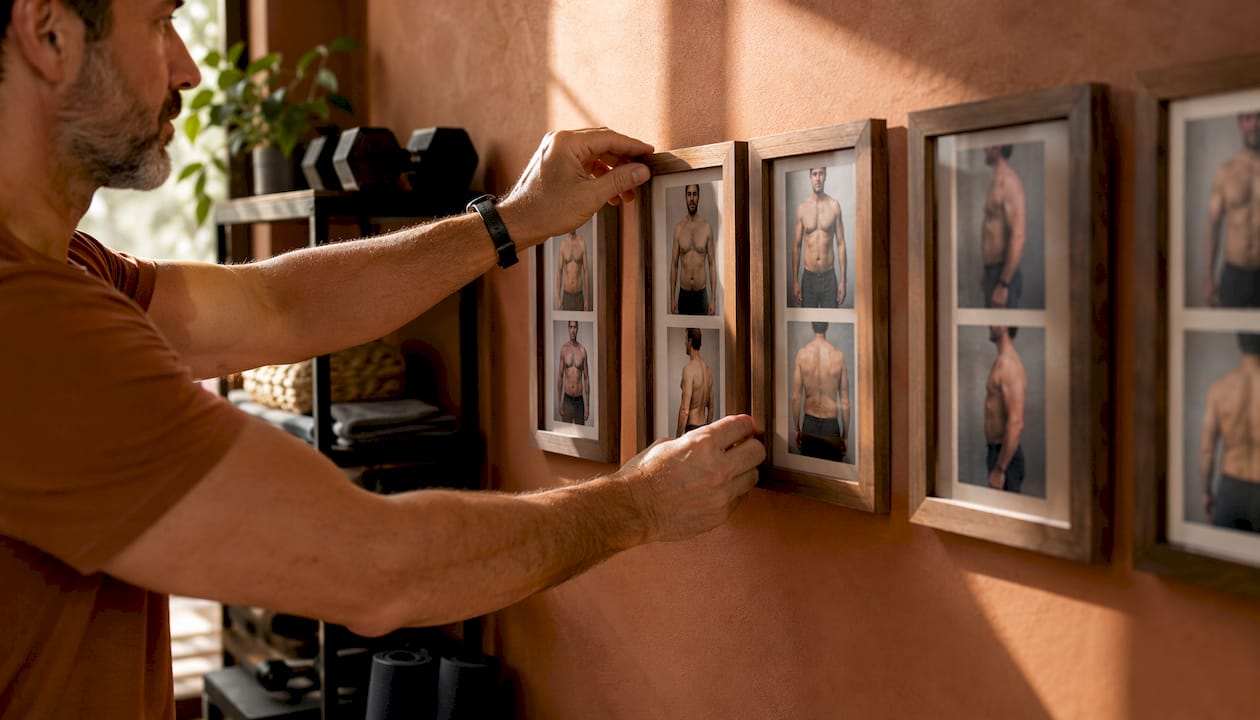
- Weekly progress photos (front, side, back) under identical lighting and background
- Monthly body-composition snapshots from the Smart Electronic Weight Scale (body fat %, BMI, lean mass)
- Workout consistency streak (days trained per week, tracked in your app)
Recommended cadence:
- Daily: automated scale weigh-in and workout log (no manual wall action)
- Weekly: take three photos, review last week's trend line, not the single number
- Monthly: print body-composition snapshot, update the wall, check PR plaques
- Quarterly: full trend review across all four metrics; set next quarter's PR targets
Tracking trends rather than single readings is what separates useful data from noise. A single weigh-in tells you almost nothing; 30 data points tell you everything.
What visual formats and pro tips make the wall actually motivating?
Photo grid: Printed 4×6 strips in matching frames create a clean, uniform look. Rotate the oldest photo out when you add a new one so the grid always shows recent progress. For a digital alternative, a Wi-Fi frame cycling through weekly photos removes the printing step entirely.
Consistent photo conditions matter more than camera quality. Same wall, same time of day, same clothing. Inconsistent lighting makes genuine progress invisible.
PLA plaque design tips:
- Number your PR slots by lift category (e.g., S1, D1, B1 for squat, deadlift, bench)
- Color-code by category using painted or tinted PLA filament
- Include the date on each plaque insert so you can see how long a PR stood
Custom PLA PR boards typically accommodate interchangeable number displays, which means you never need to reprint the whole plaque when you hit a new record.
Pro Tip: In a humid garage gym, seal PLA plaques with a clear acrylic spray coat. It takes two minutes and prevents warping over a full season of temperature swings.
How do you keep the system running and protect your privacy?
Quarterly maintenance checklist:
- Check all adhesive anchors and Command strips; replace any that show peeling
- Update digital frame firmware and confirm Wi-Fi connection is stable
- Reprint any photos that have faded or curled
- Verify CSV backup is current in Google Drive
Common troubleshooting:
- Adhesive failure in humid spaces: switch to toggle anchors or construction adhesive rated for the surface material
- Wi-Fi dropouts on digital frame: assign the frame a static IP on your router to prevent reconnection loops
- Lost CSV exports: set a monthly Google Sheets auto-backup to a second Google account as a redundant copy
Privacy: Body-composition numbers are personal. Put monthly snapshot cards inside a password-protected digital frame rather than pinning raw numbers to the open wall. If others use the gym space, display only streak counts and PR totals on the public-facing corkboard.
Pro Tip: Use a smart home setup service to configure your digital frame on a separate guest network, keeping body-composition data isolated from shared household devices.
Which devices should anchor your system?
Primary device: Uvirello Smart Electronic Weight Scale
The scale's role is the monthly body-composition snapshot. With high-precision sensors and over 12,000 verified reviews at a 4.8/5 rating, it is the most trusted single device in this setup. It measures body fat percentage, BMI, and lean mass, syncing directly to Apple Health and Google Fit for automated logging.
Supporting tech:
- Wi-Fi digital photo frame with password lock (Nixplay and Aura are widely available options)
- Raspberry Pi 4 for a local dashboard if you want offline data rendering
- Apple Health or Google Fit for primary sync; Google Sheets for long-term backup
- Fortivus AI training platform for advanced analytics and training logs that integrate with your scale data
Place the scale on a hard, level floor in the same spot every morning. Carpet compresses unevenly and introduces measurement error across sessions.
Key Takeaways
A motivation-first home gym progress tracking wall works when the wall celebrates milestones and automation handles the daily data.
| Point | Details |
|---|---|
| Wall = highlight reel | Display PRs, photos, and streaks only; keep raw daily data in apps and spreadsheets. |
| Automate daily logging | Sync your Smart Electronic Weight Scale to Apple Health or Google Fit from day one. |
| Use a sustainable cadence | Photos weekly, body-composition monthly, full trend reviews quarterly. |
| Match materials to environment | Use sealed PLA and toggle anchors in humid garages; Command strips for renters. |
| Uvirello Smart Electronic Weight Scale | The anchor device for monthly body-composition snapshots, rated 4.8/5 by 12,000+ users. |
The wall is not the tracker. The wall is the trophy case.
Most people build a progress wall and immediately fill it with too much. Daily weigh-ins, every workout logged, a new photo every three days. Within six weeks, updating it feels like a chore, and within three months, it is wallpaper.
The insight worth holding onto: the wall's power comes from scarcity, not density. One PR plaque that took four months to earn hits differently than a grid of numbers updated every morning. When you walk in and see that plaque, you remember the session that produced it. That is the motivational mechanism. Daily data cannot do that.
Automate everything you can. Let the scale, the apps, and the spreadsheets capture the granular record. Reserve the wall for the moments worth celebrating. That separation is what makes the system sustainable past the first month.
The Uvirello Smart Electronic Weight Scale belongs on your wall plan
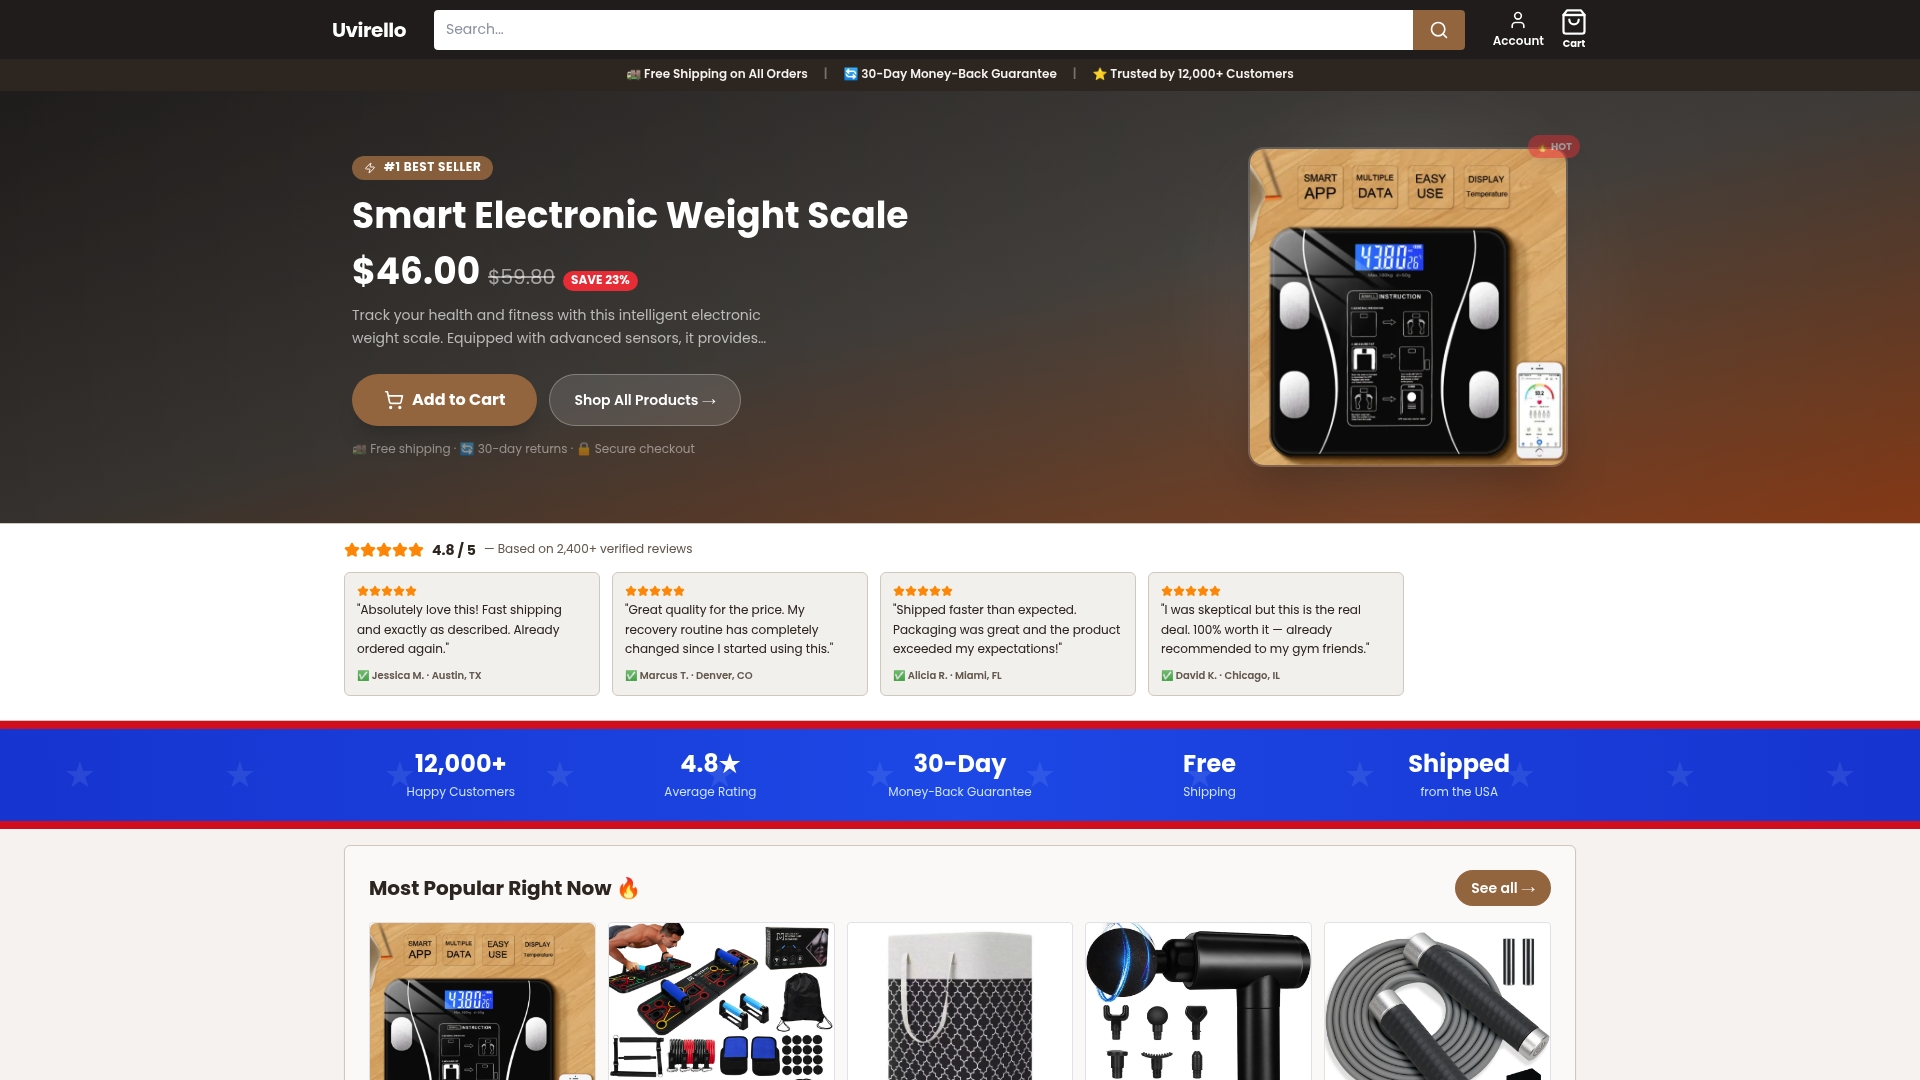
The foundation of any body-composition tracking wall is a scale you can trust. The Uvirello Smart Electronic Weight Scale delivers high-precision body fat percentage, BMI, and lean mass readings that sync automatically to Apple Health and Google Fit, feeding your monthly snapshot cards without any manual entry. More than 12,000 users rate it 4.8 out of 5, and the sleek design fits any home gym aesthetic. Add it to your setup, automate your daily weigh-ins, and let the wall do what it does best: show you how far you have come. See the Uvirello Smart Electronic Weight Scale and make it the anchor of your tracking system.
Useful sources and further reading
- RP3 Rowing — Home workout progress tracking guidance: Supports the measurement cadence and milestone-focused wall design principles used throughout this guide.
- Novelty Boy — Custom Gym PR Board: PLA PR plaque product with interchangeable number displays; referenced in materials and visual options sections.
- GetNameNecklace — Custom Weightlifting Personal Tracking Board: 3D-printed PLA tracking board with minibarbell design; supports the build materials section.
- Google Sheets Gym Exercise Tracker Template: Free no-code digital backup option for workout and body-composition logs; used in the automation recipes section.
- Progressive Overload Tracker — Bored Tools: Downloadable spreadsheet for sets, reps, and volume tracking; supports the integration and maintenance sections.
- Uvirello Smart Electronic Weight Scale: Primary device recommendation for monthly body-composition snapshots; referenced in the recommended devices and promo sections.